|
MOBILE LOCATION DATA RESOURCES
TECH DOCS Cross Account Bucket Access - AWS Integration Create a Database, Table and Partition How To Run Basic Location Data Queries
PUBLISHER SOLUTIONS Consent Management Knowledge Base
|
In this detailed guide, we take you through the steps required to integrate the library with your app.
Deployment target:
Tools required:

Once the app is open in XCode, build it to ensure that it's running smoothly.

Open up the library folder and drag "libDataAcquisitionSDK.a" and "/include" to your Xcode project:

The library requires CoreLocation from iOS SDK as a dependency.

Note: If your project already has these dependencies, you don't need to add them again.
Now you have imported the library and added the required dependencies.
Import the main class:
#import "include/DataAcquisitionSDK/DataAcquisitionSDK.h"
You can now refer the class from the library in your application.
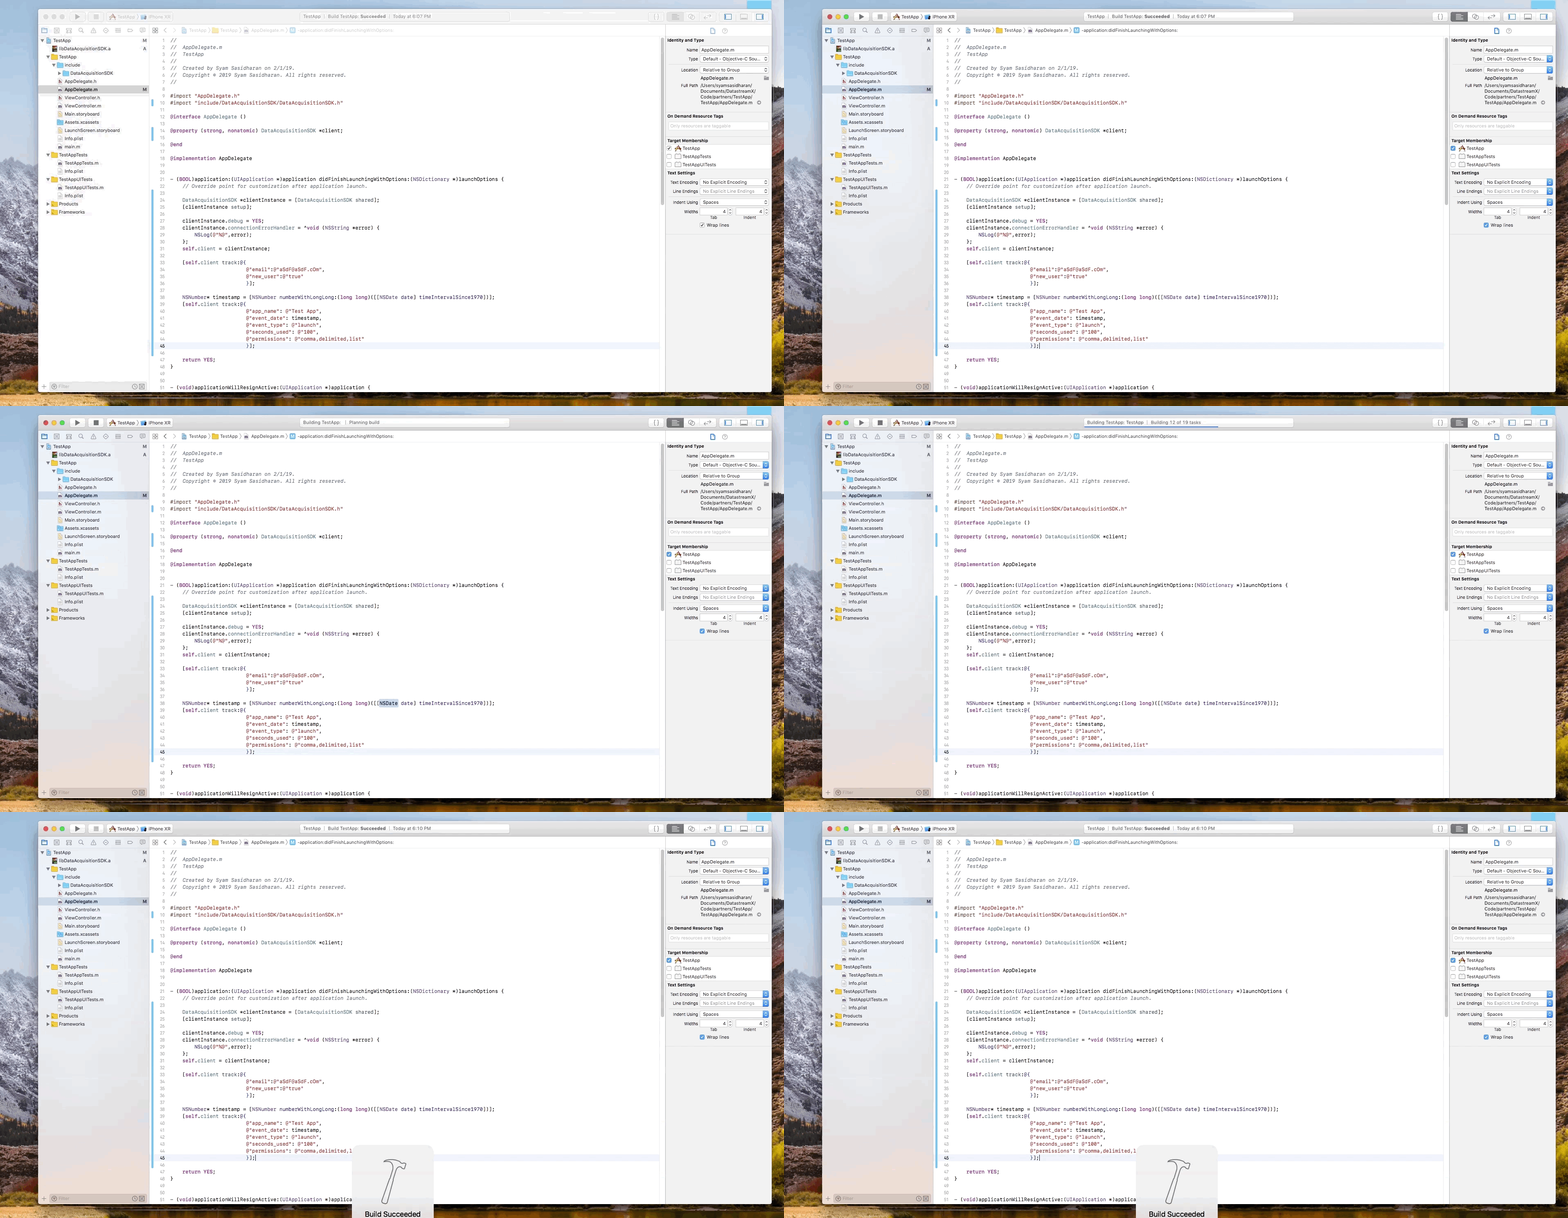
@property (strong, nonatomic) DataAcquisitionSDK *client;

To initiate the library, use the following code:
    DataAcquisitionSDK *clientInstance = [DataAcquisitionSDK shared];
    [clientInstance setup];
If you want to enable debug mode please use the following statement:
clientInstance.debug = YES;
Thats it!
Build the project. If there are no errors, you have successfully integrated the library with your application.
[stopped here]
Using the following codes, create your custom data or event:
  NSDictionary *userData = @{
                                 @"email":@"aSdF@aSdF.cOm",
                                 @"new_user":@"true"
                             };

  [self.client track: userData];
If you want to create a new custom event, you can do so with the following code:
    NSNumber* timestamp = [NSNumber numberWithLongLong:(long long)([[NSDate date] timeIntervalSince1970])];
    [self.client track:@{
                         @"app_name": @"Test App",
                         @"event_date": timestamp,
                         @"event_type": @"launch",
                         @"seconds_used": @"100",
                         @"permissions": @"comma,delimited,list"
                         }];


Run the application if there are no errors.

Thats it! You can now send your custom data/event!
Add the required location usage descriptions for your application. These will be shown to users in the prompt dialog when your app requests permission from users.
Copy the following code to your application's info.plist:
  <key>NSLocationAlwaysAndWhenInUseUsageDescription</key>
    <string>Please give access to your location!</string>

    <key>NSLocationAlwaysUsageDescription</key>
    <string>Please give access to your location!</string>

    <key>NSLocationUsageDescription</key>
    <string>Please give access to your location!n</string>

    <key>NSLocationWhenInUseUsageDescription</key>
    <string>Please give access to your location!</string>

Enable location capture and background fetch modes.

Import the location manager class and other required properties:
@import CoreLocation;
Add the following properties:
@property BOOL locationOn;
@property BOOL _isBackgroundMode;
@property BOOL _deferringUpdates;
@property (strong, nonatomic) CLLocationManager *locationManager;
Add a method to initiate the location access request using location manager class:
- (void) turnOnLocationTracking {
    if([CLLocationManager locationServicesEnabled]){

        NSLog(@"Location Services Enabled");

        if([CLLocationManager authorizationStatus] != kCLAuthorizationStatusDenied){
            self.locationManager = [[CLLocationManager alloc] init];
            self.locationManager.delegate = self;
            self.locationManager.pausesLocationUpdatesAutomatically = NO;
            self.locationManager.desiredAccuracy = kCLLocationAccuracyBest;
            [self.locationManager requestAlwaysAuthorization];

            [self.locationManager startUpdatingLocation];
        }
    }
}

Optional: You may also add a method for stopping location capture as well.
- (void) turnOffLocationTracking {
    if([CLLocationManager locationServicesEnabled]){

        //NSLog(@"Location Services Enabled");

        if([CLLocationManager authorizationStatus] != kCLAuthorizationStatusDenied){
            self.locationManager = [[CLLocationManager alloc] init];
            self.locationManager.delegate = self;
            [self.locationManager stopUpdatingLocation];
            self.locationOn = false;
        }
    }
}
Implement the location manager delegate methods, these are the callback methods that are fired when a location event occurs:
- (void)locationManager:(CLLocationManager *)manager didUpdateLocations:(NSArray *)locations {
    NSLog(@"locationManager fired");
    CLLocation *location = [locations lastObject];
    if(self.locationOn != true){
        self.locationOn = true;
    }
}

- (void)locationManager:(CLLocationManager *)manager didFailWithError:(NSError *)error {
    NSLog(@"didFailWithError: %@", error);
}

- (void) locationManager:(CLLocationManager *)manager didFinishDeferredUpdatesWithError:(NSError *)error {
    self._deferringUpdates = NO;
    //do something
}
Once the location is captured, you must call the following method using ‘track location’:
    DataAcquisitionSDK *client = [DataAcquisitionSDK shared];
    [client trackLocation:location];
Copy this code to the didUpdateLocations callback method as follows.
- (void)locationManager:(CLLocationManager *)manager didUpdateLocations:(NSArray *)locations {
    NSLog(@"locationManager fired");
    CLLocation *location = [locations lastObject];

    if(self.locationOn != true){
        self.locationOn = true;
    }

    DataAcquisitionSDK *client = [DataAcquisitionSDK shared];
    [client trackLocation:location];

}

Build the project again to ensure there are no errors.

You now have all the methods required to capture location and send it via the library.
Use the following lines of code to initiate location capture:
[self turnOnLocationTracking];![]()
Build and run the project.

That's it!
You have now started tracking location via DataAcquisitionSDK
If you face any difficulties, do reach out to support@quadrant.io.
Main body text.