STEP 4 - Example code for SDK setup (best to put it at application class):
JAVA
KOTLIN
STEP 5 - Example code to start tracking location:
JAVA
KOTLIN
minifyEnabled true, add this to your proguard rules file:-keep class com.quadrant.sdk.locationdata.** {*;}
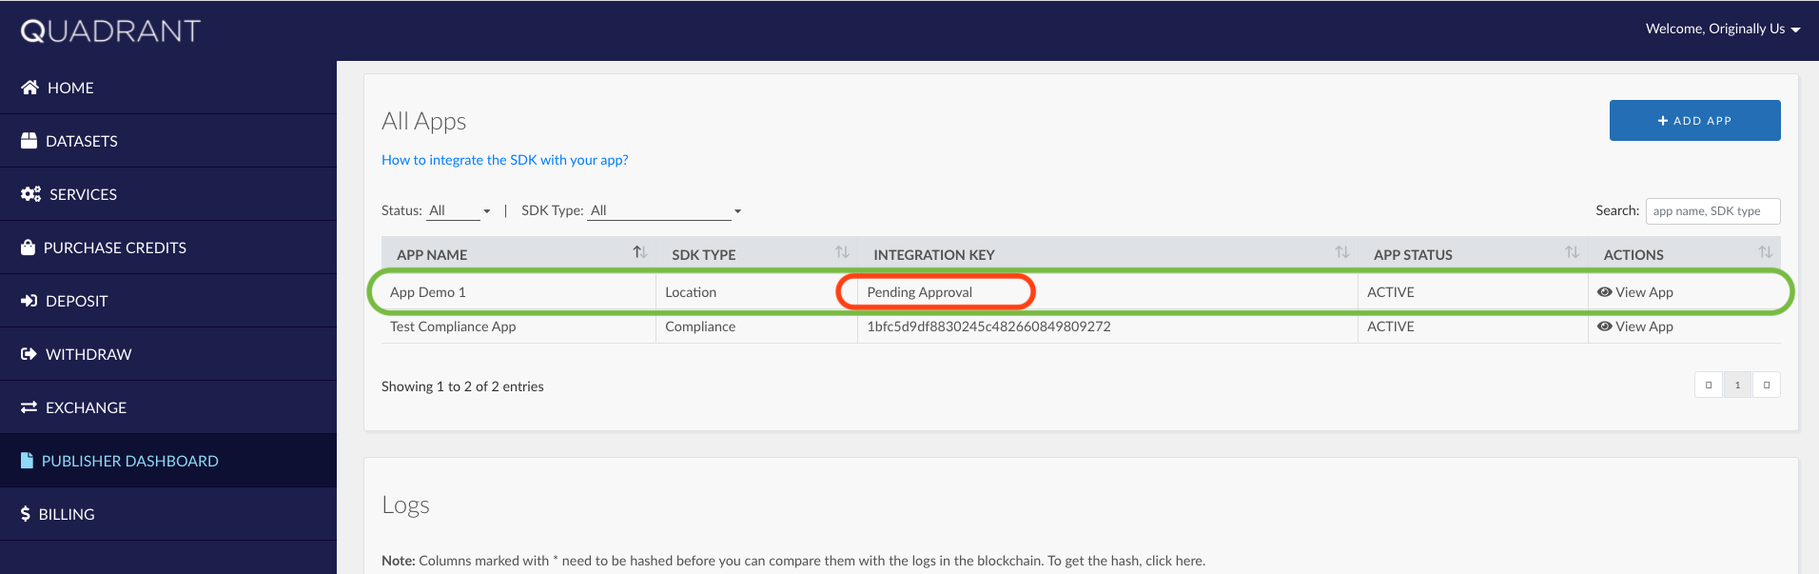
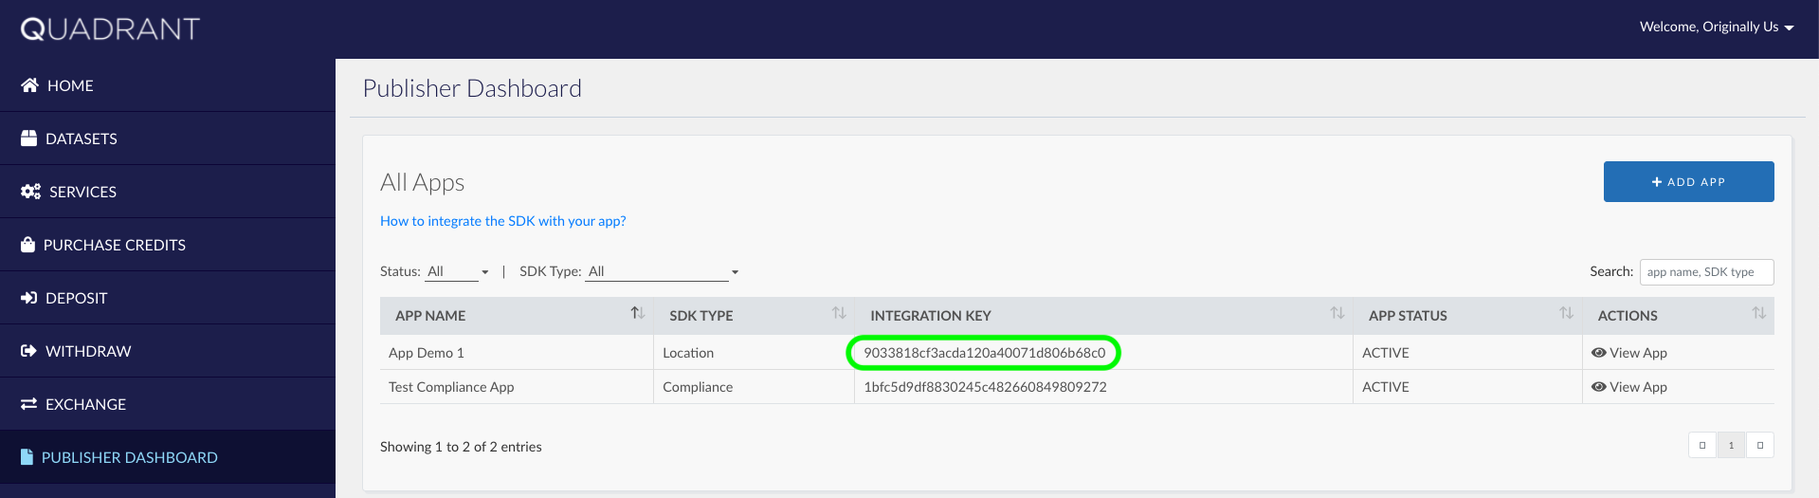
Before proceeding to this section, make sure that the Location SDK has been integrated successfully (details are available at Quadrant | SDK Integration).
Quadrant’s Location SDK has a callback that goes by the name GeneralCallBack (path: com.quadrant.sdk.locationdata.retrofit). The callback has two functions:
void onSuccess(String)void onError(String)
The names of the functions represent their purpose. If you have followed our guide (INTEGRATING THE SDK – ANDROID), you might remember “STEP 5 – Example code to start tracking location” which explains how to invoke location tracking by using the parameters within the GeneralCallBack.For example, we can use the following location invocation function in Kotlin:
In this case, GeneralCallBack will be invoked within a period of 60,000 milliseconds (one minute).
Let us now consider the onSuccess(String) function callback which is periodically invoked by the SDK. Once invoked, the onSuccess(String) will produce the following String data format:
*dd-MM-yyyy HH:mm:ss Status Code Response: **2200 -> ex: 01-01-2022 16:31:22 Status Code Response: 200*Based on current device data and location (including the Time Zone)
**Response code from the server
Since GeneralCallBack is invoked periodically, do not place any object that can result in a memory leak.
Now, we can input any application logic within the onSuccess function, such as event tracking, logging, and even the Firebase Event.
STEP 1 - Installation using Cocoapods
Add this line in your Podfile:
pod "QDPublisher", :git => 'https://github.com/datastreamx-plc/ios-
data-acquisition-sdk.git', :tag => '1.1.3'
and then install by type pod install in your command lineTo install dependencies from cocoapods.
Sometimes the pod is not updated so you can clean cache and update pod using
pod cache clean --all
pod udpate QDPublisher
STEP 2 - Configure Info.plist
Update your location usage descriptions
<key>NSLocationAlwaysAndWhenInUseUsageDescription</key>

<string><your location access description></string>

<key>NSLocationAlwaysUsageDescription</key>

<string><your location access description></string>

<key>NSLocationWhenInUseUsageDescription</key>

<string><your location access description></string>
Update your tracking manager description
<key>NSUserTrackingUsageDescription </key>
<string><your tracking usage description></string>Register your integration key after app launch, after that you can setup your event and start tracking location, usually your AppDelegate.swift
Implement QDPublisherDelegate - iOS
After setting data-renderer-mark="true">publisher.delegate = self you need to implement PublisherDelegate :
Basically, the API is same just different language. Here’s the full code for objective-c in AppDelegate.m
And don’t forget to add implement PublisherDelegate in AppDelegate.h